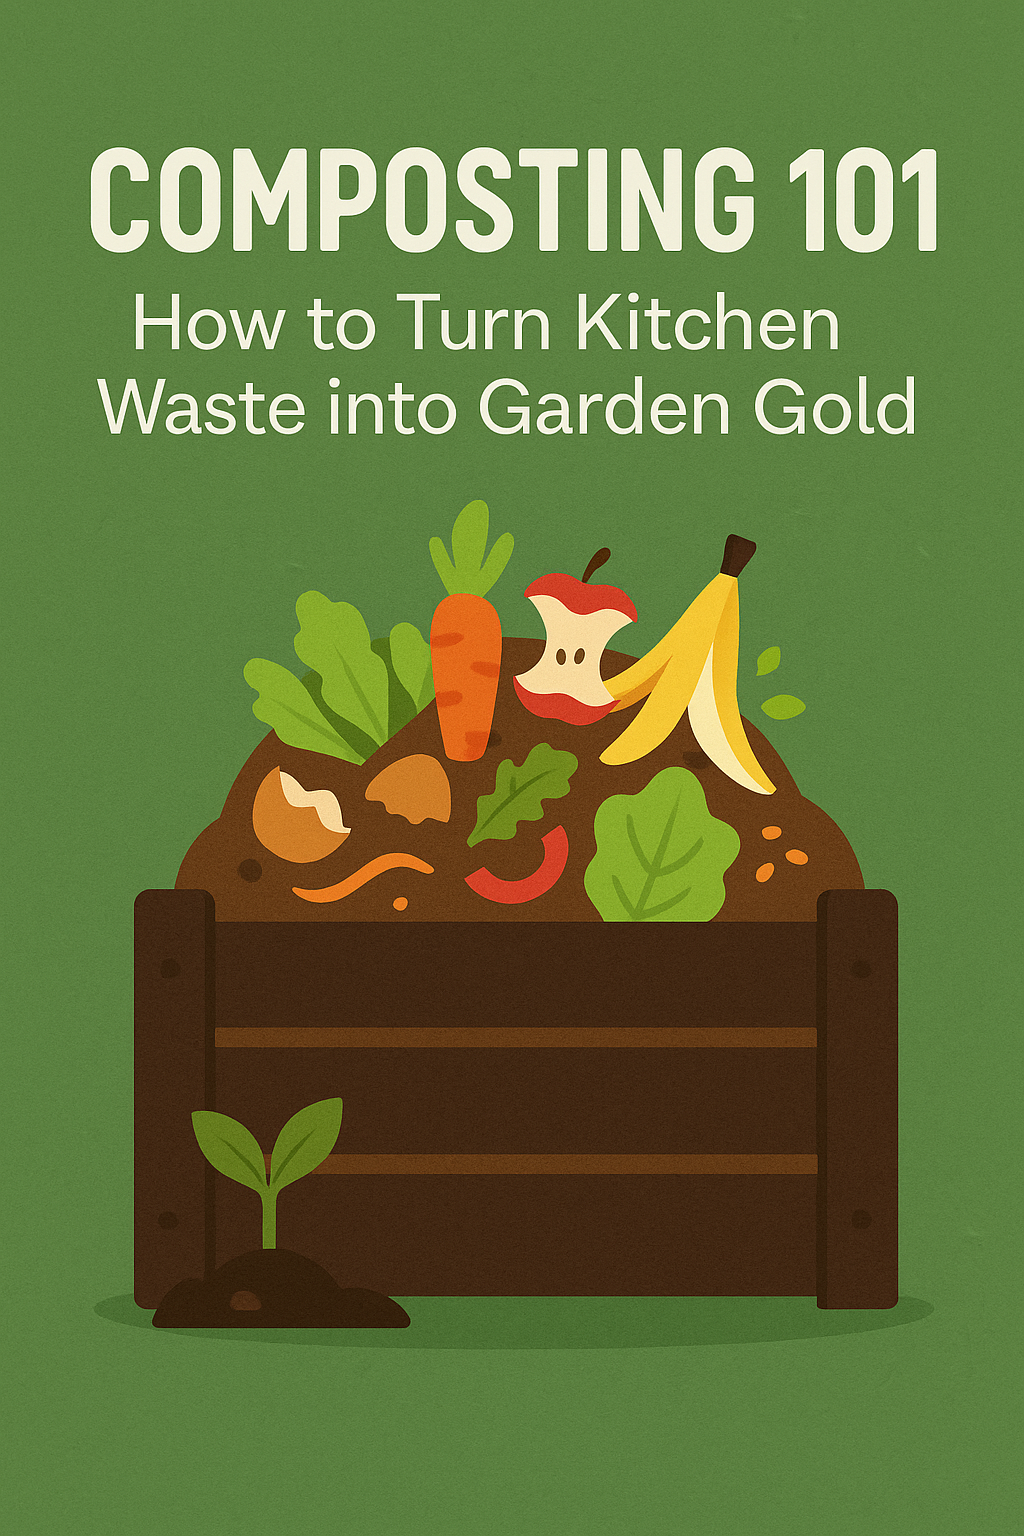
Want to reduce kitchen waste and improve your garden? Composting at home is one of the easiest and most effective ways to recycle organic material into nutrient-rich soil. Whether you live in a house with a yard or a small apartment, this guide will show you how to start composting from scratch.
What Is Composting?
Composting is the natural process of breaking down organic waste — like food scraps and yard trimmings — into a dark, crumbly material called compost. This compost acts as a natural fertilizer that enriches soil, retains moisture, and supports healthy plant growth.
Why Should You Compost at Home?
- Reduces landfill waste
- Creates free, organic fertilizer for your garden
- Improves soil structure and water retention
- Decreases greenhouse gas emissions
- Supports beneficial microbes and earthworms
What You Can Compost
Here’s a basic rule: you can compost most organic materials, but not all of them. Aim to balance “greens” (wet, nitrogen-rich) with “browns” (dry, carbon-rich) for best results.
✔️ Greens (Nitrogen):
- Fruit and vegetable scraps
- Coffee grounds and tea bags
- Fresh grass clippings
- Plant trimmings
✔️ Browns (Carbon):
- Dry leaves
- Shredded newspaper or cardboard
- Sawdust (untreated wood)
- Straw or hay
❌ Avoid: Meat, dairy, greasy foods, pet waste, or any diseased plants.
How to Start Composting: Step-by-Step
Step 1: Choose Your Composting Method
You can compost indoors or outdoors depending on your space:
- Outdoor pile or bin: Ideal if you have a backyard or garden
- Tumbler bin: Great for faster composting and easier turning
- Indoor compost bin: Best for small apartments or kitchen scraps
- Worm composting (vermicomposting): Uses worms to break down waste — perfect for indoors
Step 2: Add the Right Ingredients
Layer your greens and browns like a lasagna. Aim for a 2:1 ratio of browns to greens. Always cover food scraps with dry material to reduce odor and pests.
Step 3: Keep It Moist (But Not Wet)
Your compost pile should feel like a wrung-out sponge. Too dry? Add more greens or a little water. Too wet? Add browns like paper or dry leaves.
Step 4: Turn the Pile
Turning the pile every 1–2 weeks helps oxygen reach the microbes that break down material. This speeds up the process and prevents bad smells.
When Is Compost Ready?
Compost is ready when it’s dark brown, crumbly, and earthy-smelling. It typically takes 2–6 months depending on the method and climate. Sift it to remove any large chunks, and it’s ready to use!
How to Use Finished Compost
- Mix into garden soil to improve structure and nutrients
- Use as mulch around vegetables and flowers
- Top-dress indoor plants or raised beds
- Make compost tea for liquid plant feeding
Common Composting Mistakes to Avoid
- Adding meat, dairy, or oily food (attracts pests)
- Not balancing greens and browns (causes odor or slow breakdown)
- Letting it get too dry or soggy
- Forgetting to turn the pile regularly
FAQ: Home Composting
Can I compost in winter?
Yes! Outdoor composting slows down but continues. Indoor bins or worm composting work year-round.
Is composting smelly?
No — when done right, compost should smell earthy. Bad odors mean you need more browns or better aeration.
Final Thoughts
Starting a compost pile at home is simple, sustainable, and rewarding. By recycling your food and garden waste, you can reduce your environmental footprint and give your plants the nutrients they need to thrive. Start small, stay consistent, and enjoy watching your waste turn into garden gold!
Looking to level up your garden? Check out our guide on DIY Natural Fertilizers for even more chemical-free growth boosters.


